Nature photography is such a rewarding experience, but it can be tricky for beginner photographers. But, there are so many photo opportunities at Jasper National Park for beginners and experts alike! From dramatic mountains and lakes to fascinating wildlife, Jasper is a nature photographer’s dream come true. And as experts in photographing the park, we at SunDog Tours have plenty of tips to help you can take photos to impress.
If you’re hoping to try some nature photography in Jasper National Park, here are our top 6 nature photography tips for beginners.
Photography Tip #1: Choose Early Tours or Later in the Day Tours For Photographing Jasper National Park

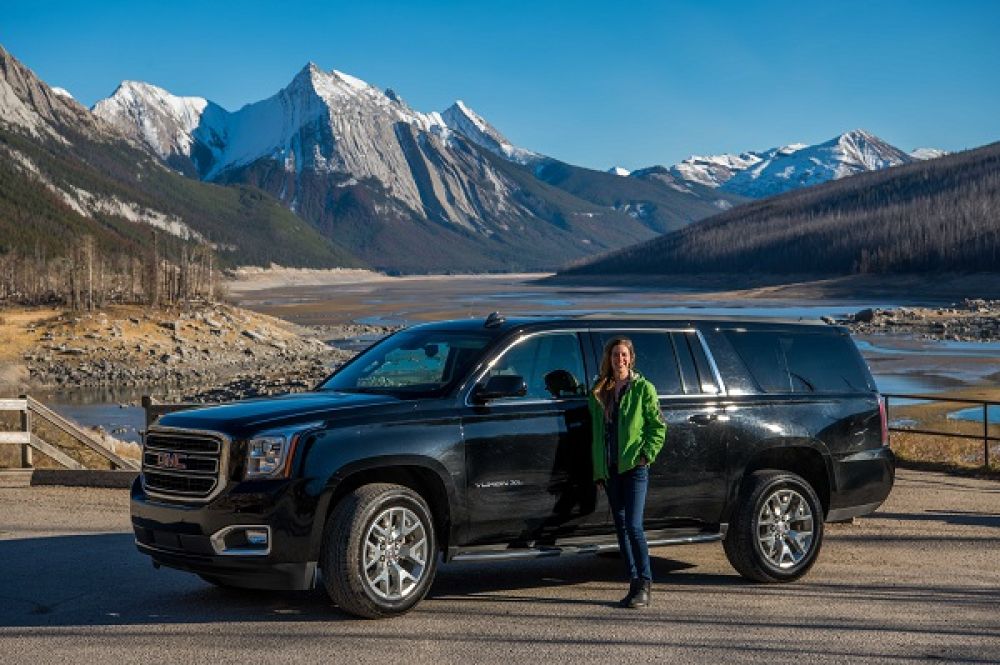
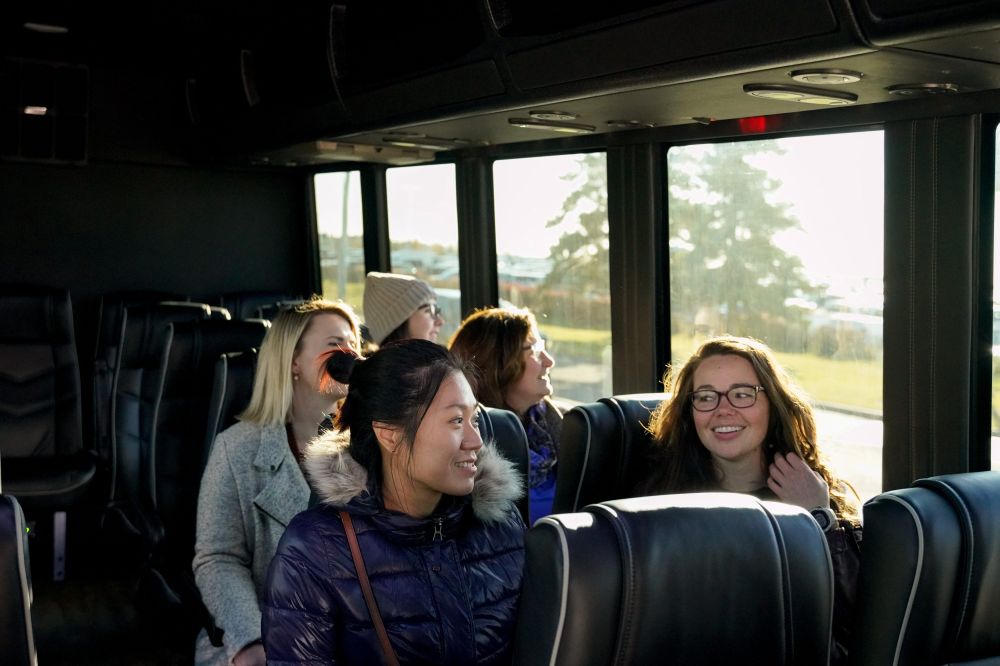
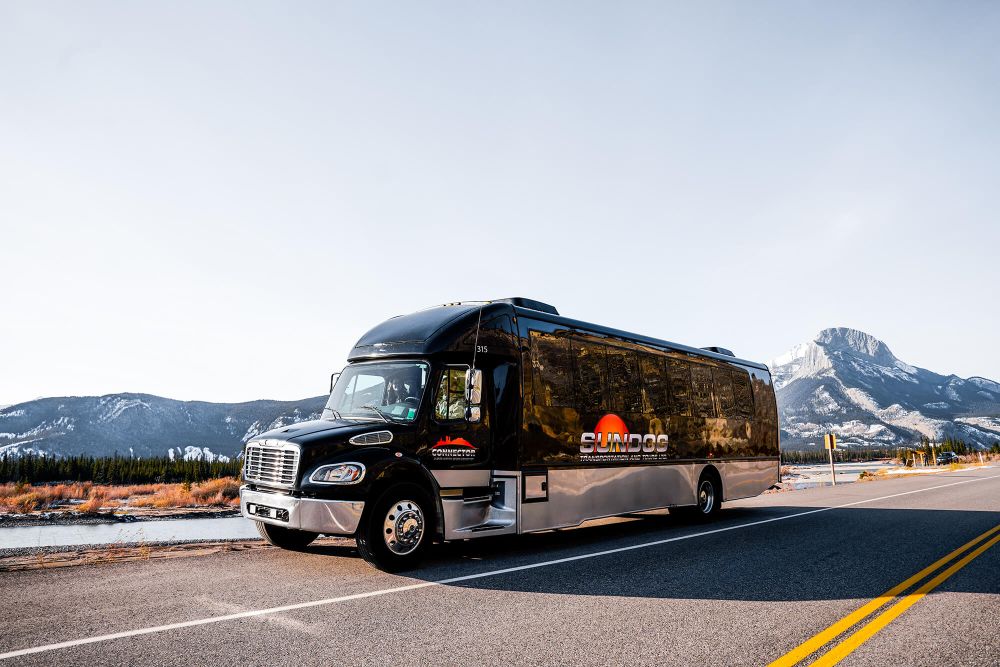
One of the easiest things to do to set yourself up for success is to book a tour. You’ll also want to choose the time wisely, such as a tour that starts early, or in the late afternoon or early evening before sunset. Expert tour guides are familiar with the park and can take you to the best spots for photography that you might not be able to do otherwise. And when booking these tours, you’ll want to choose tours that are earlier, or later, in the day. This is to avoid the harsh midday sun and the busier times of the day. Sunrises can offer stunning lighting, while the brief time before sunset lets you take advantage of what’s known as the “Golden Hour”. Golden Hour is the time of day which provides some of the best lighting for nature photography.
Plus, if you’re visiting in the summer to photograph wildlife, often animals will avoid the hotter times of the day and be less active. You’ll have a higher chance of getting good photos when it’s less hot. Avoiding midday also means you can avoid any major crowds that could interfere with your photography. Of course, you could always visit the park at these times yourself without a tour. But, a tour can take you to the best nature photography spots that you might not have been able to see on your own.


Photography Tip #2: Pick Your Jasper Photo Spots In Advance to Help you Prepare
If you know where you’ll want to get your shots in advance, you can better prepare for it and make sure you don’t miss it! Write a list of your top spots to photograph in Jasper National Park and see if you can find a tour that can take you to those spots. Be sure to let your guide know if there’s a spot you really want to photograph along the tour so that they can help you make sure you get your photo. You’ll also want to check if you’ll need any special equipment for the spot, such as a tripod or a different lens if your camera can change its lens. Of course, spontaneous shots are just as fantastic, but sometimes certain spots need a little more preparation.


Photography Tip #3: Bring A Backup Battery & Memory Card When Photographing Jasper National Park

Nothing’s worse than your battery being drained before you can get the right photos, or running out of room on your memory card. Because Jasper National Park is such a beautiful park full of photography opportunities, we know you won’t want to miss a single shot. Make sure to pack the extras, such as a backup, fully-charged battery and an extra memory card, so that you won’t be caught in a pickle during your tour.
Photography Tip #4: Don’t Angle Your Camera Into Direct Sunlight When Photographing Nature

Many beginner photographers often forget this very important tip when trying nature photography. You’ll want to think of your lens like an eye. If bright, direct sunlight is filtering into the lens, it can be “blinding” for your camera. Photographing into direct sunlight can create glare, completely wash out the photo, or cast the subject in shadows from the high contrast. Instead, try keeping the sun behind you so that the sun is on the subject, and not the lens. If the shot you want means facing the sun, try angling your camera down or to the side so that the light isn’t directly hitting the lens. Of course, keeping the angle of the sun itself in mind will be important, too. If there’s a lot of light reflecting off of a lake or snow, it can reflect back into your lens. Try taking your shots from a couple of different angles to find the best lighting.
Photography Tip #5: Take Lots of Photos When Photographing Jasper National Park
As a beginner, don’t worry about trying to get the perfect shot on your first go. Try to take lots of photos, and change your angles, too, to give you as many options as possible. While it may be annoying to sort through later, it’ll make sure you get the right shot without trying to work too hard to set it up. And don’t be afraid to move around, too! Most nature photographers have to move to get the right shots. Of course, if you’re close to any wildlife, you’ll want to either not move or move slowly so as not to startle the animals when photographing them.


Photography Tip #6: Don’t Use Flash And Be Sure To Set Your White Balance For Nature Photography
Flash, while great for illuminating a subject in low light, often washes out the subject and creates hard lines that aren’t flattering. Plus, it can startle animals (please make sure your flash is off when photographing wildlife). As for your white balance, many cameras have an auto-setting for your white balance, however some need to be done manually. Practice fiddling with your camera beforehand to get used to the camera’s settings, so that when you need to set it during your tour, you’re ready to go. Bring a white sheet of paper with you to help you set your white balance – when looking through your lens, once the white sheet of paper on the screen looks like it does in real life, you’ve found the right balance and are ready to start taking photos of Jasper National Park.


Nature Photography in Jasper National Park for Beginners: Top Tours by SunDog Tours For Photography
Curious about what tours SunDog Tours offers that would make a good fit for nature photography? Here’s a quick list of some of our tours to help you find the best photography spots in Jasper National Park:
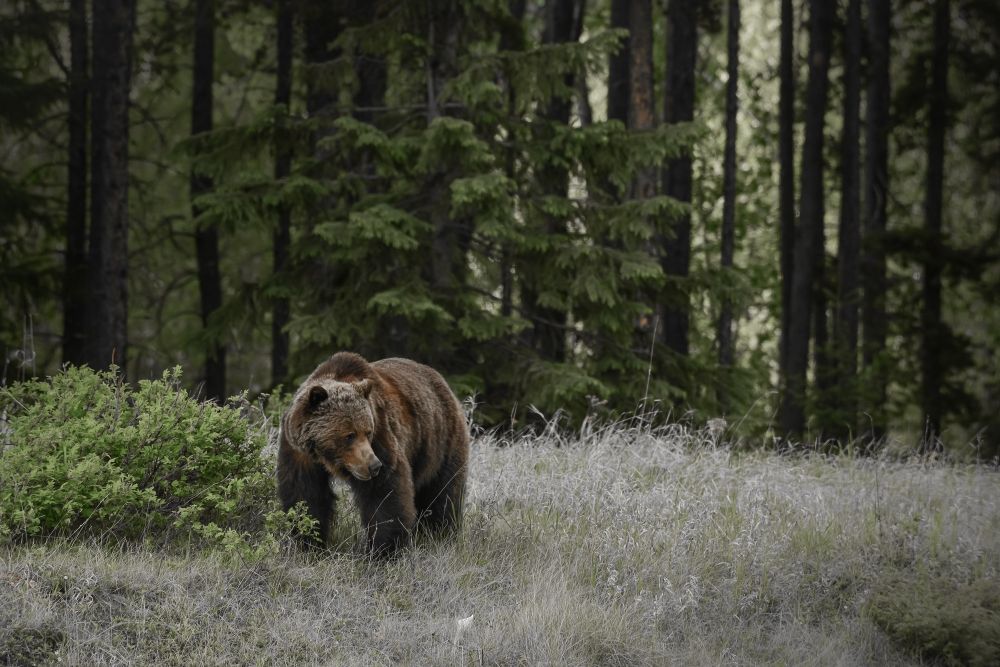
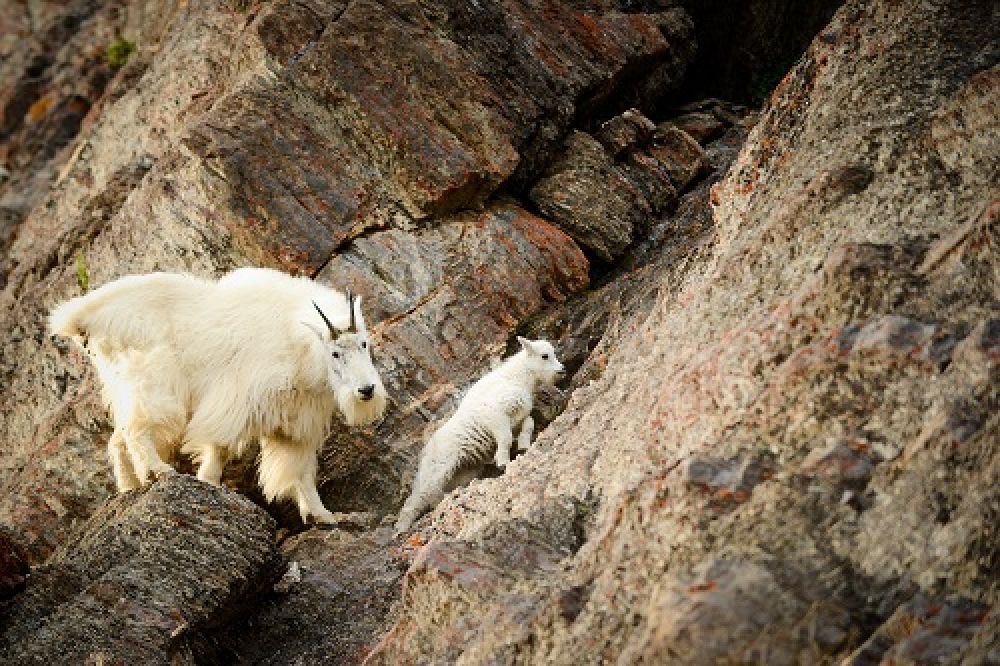
- Jasper Wildlife Discovery Tour & Winter Wildlife Discovery Tour: Best for wildlife nature photography
- Sunrise Sightseeing & Wildlife Tour: Best for sunrise nature photography
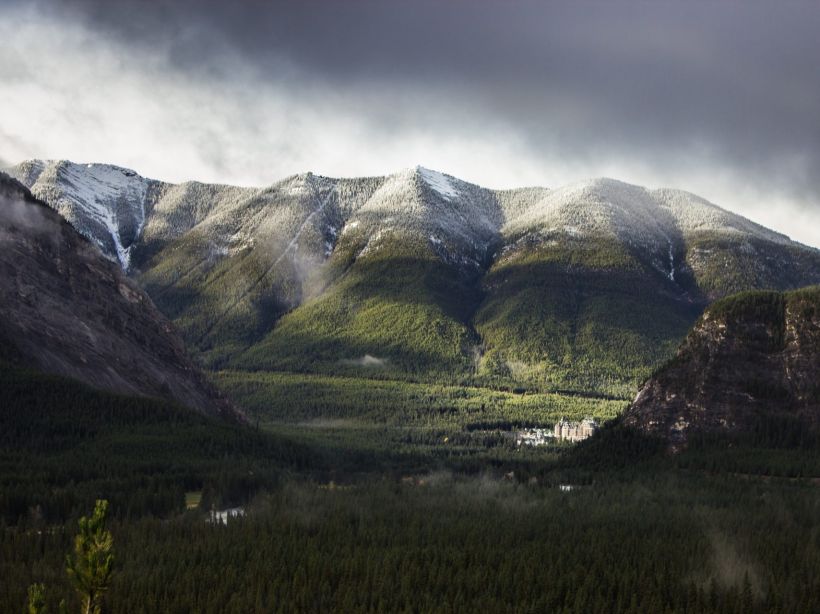
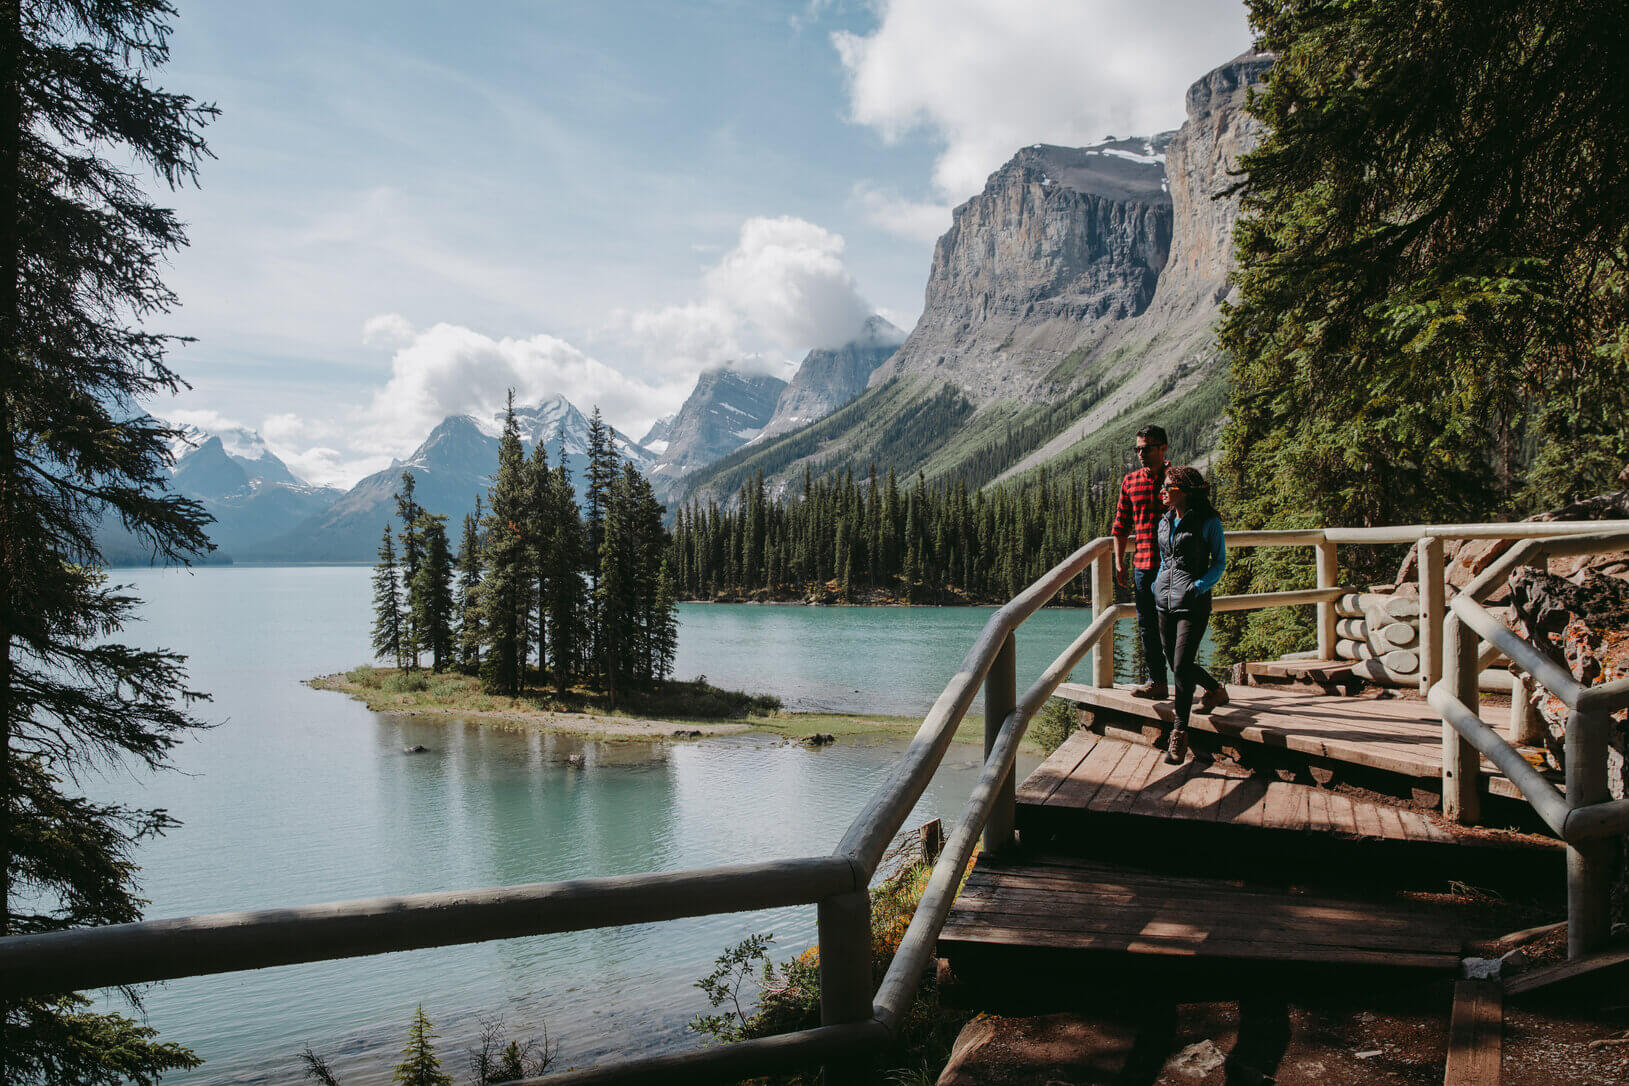
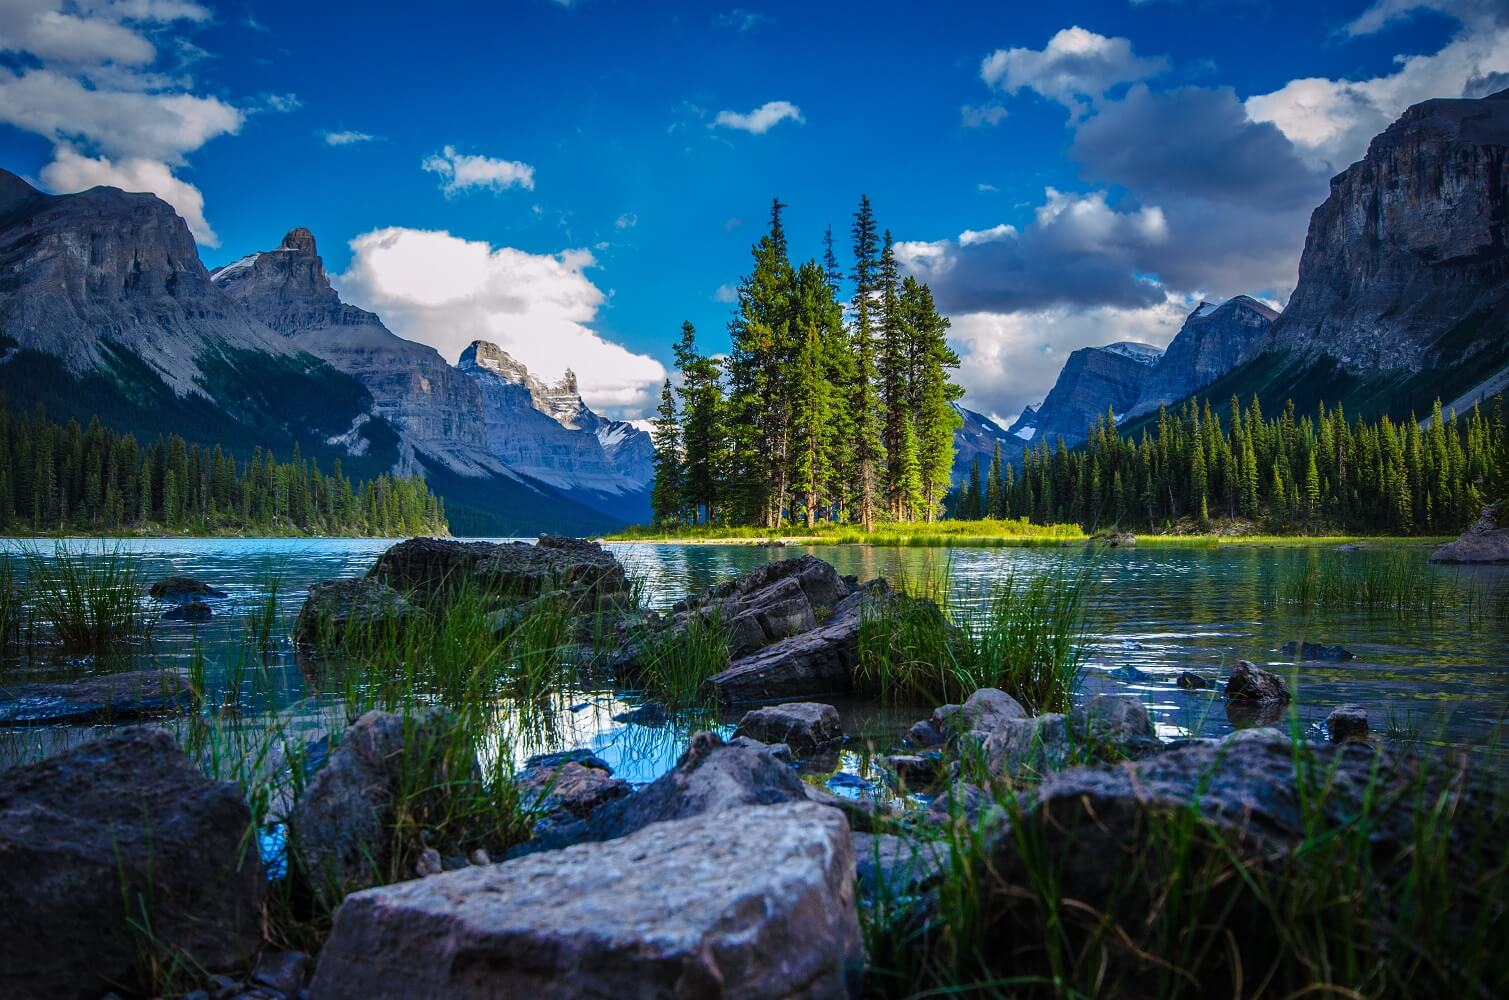
- Maligne Valley Sightseeing Tour: Best for lake photography and landscape photography
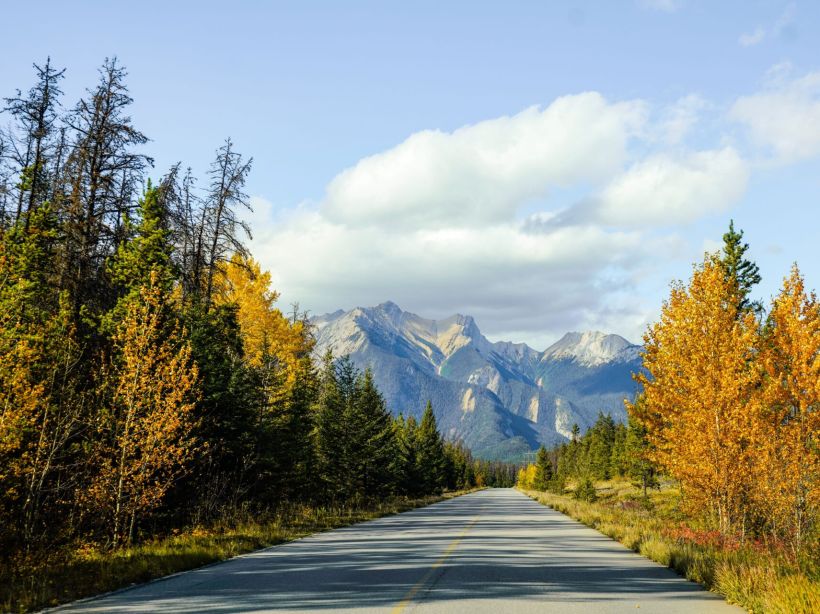
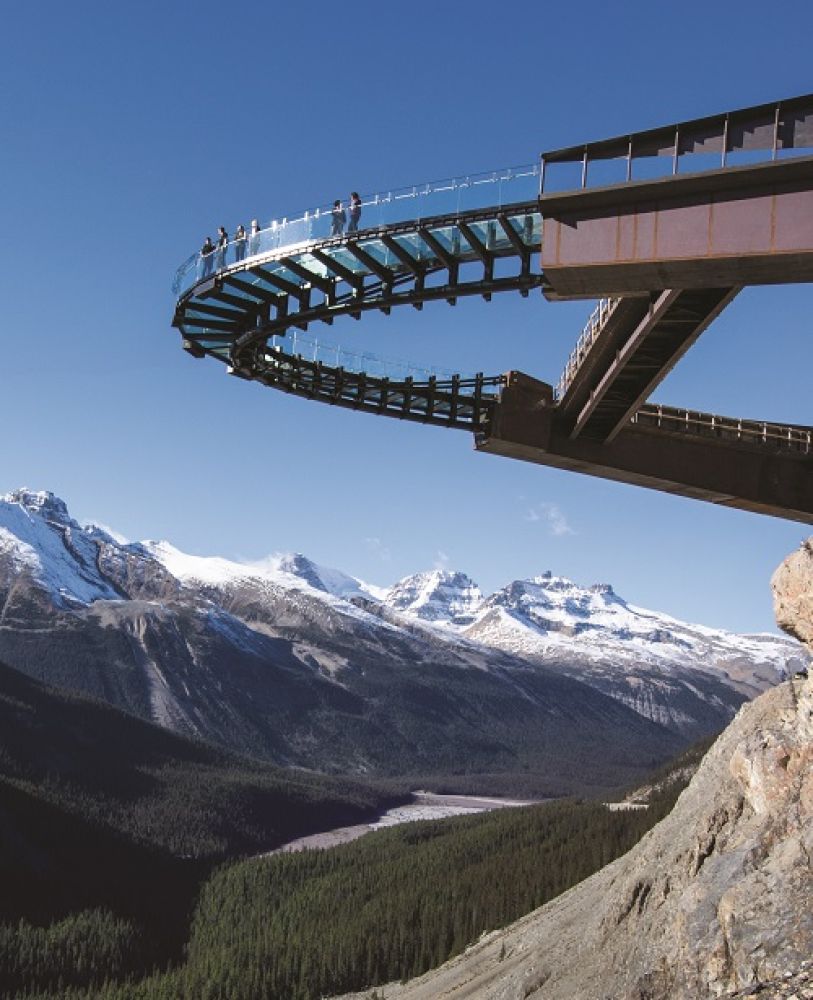
- Jasper Skytram: Best for aerial photography and landscape nature photography
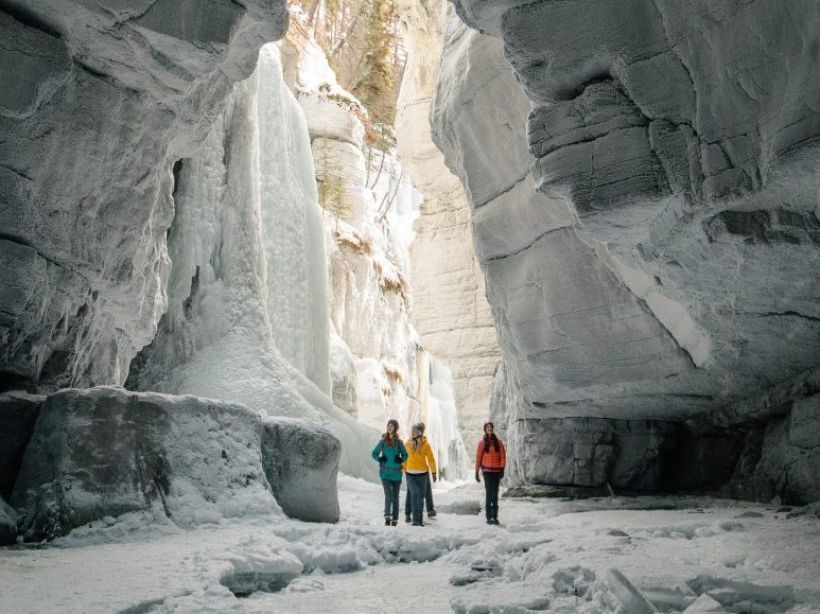
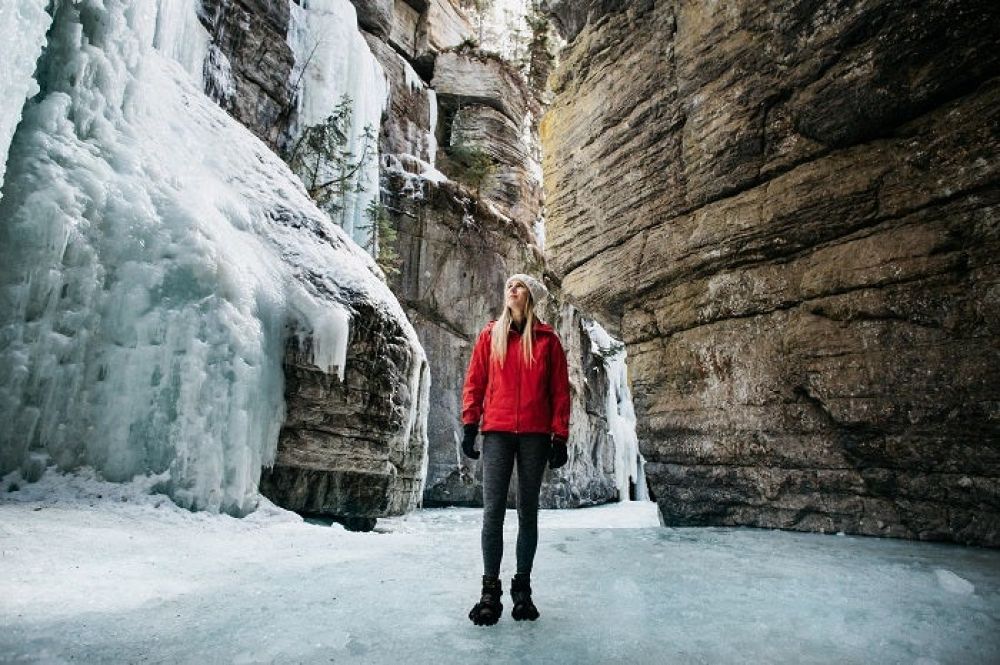
- Maligne Canyon Icewalk Tour: Best for winter photography
- Private Journeys: Best for customized tours for nature photography (you can visit all the spots you want to photograph in a customized tour)


Nature Photography for Beginners: Photographing Jasper National Park With SunDog Tours
We know just how rewarding it can be to take beautiful nature photography while visiting Jasper National Park. The park is so beautiful no matter where you go that your photos will look like pieces of art. All your photos can be something you can use to look back on your time in Jasper National Park with fondness. We hope these tips will help you take the best nature photography photos while visiting the park. And most importantly, remember to have fun! Don’t put too much pressure on yourself to get the perfect photo – most of the time, the breathtaking landscape and wondrous wildlife of Jasper National Park will make your photography extraordinary on its own.
If you’re hoping to visit the park and looking for the right tour to take you to the best nature photography spots in Jasper National Park, be sure to check out our Jasper summer tours and winter tours or contact us for more information.